Quick Start
Get up and running with Memril in just a few minutes. This guide will walk you through your first memory analysis session.
Prerequisites
Before starting, ensure you have:
- Installed Memril with the required driver
- Administrator privileges (required for memory analysis)
- A target process or understanding of kernel driver analysis
Step 1: Launch Memril
- Right-click on
memril.exe - Select "Run as administrator"
- Allow UAC prompt if it appears
Memril automatically downloads PDB (debugging symbol) files from Microsoft Symbol Server. These files translate memory addresses into readable function and variable names and are required for Memril to work across different Windows versions.
Step 2: Select Your Target
When Memril starts, you'll see the target selection dialog:
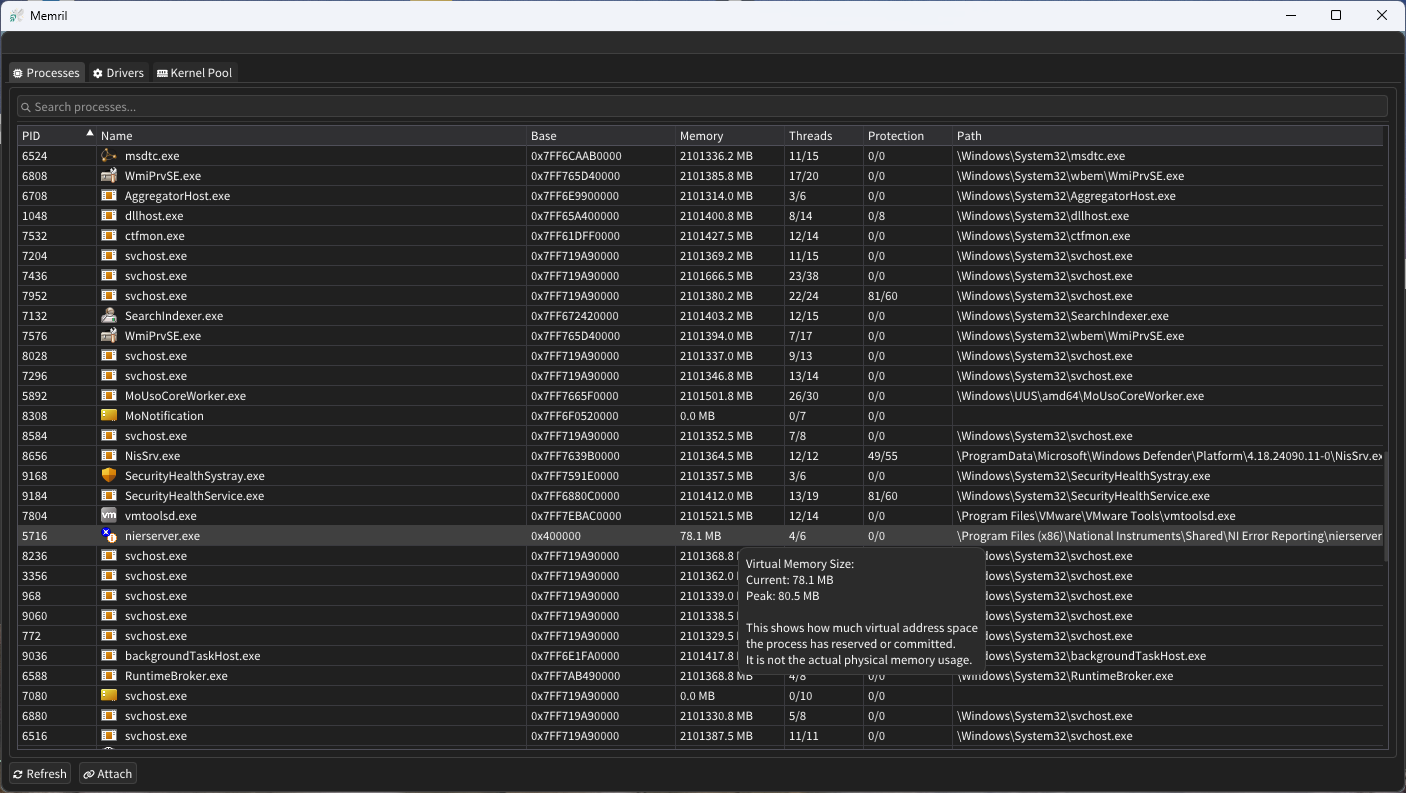
Analyzing a Target
- Choose either the "Processes" or "Drivers" tab
- Browse the list
- Select your target
- Click "Attach" or double-click the target from the list
For your first analysis, try Calculator or Notepad. These are simple applications that demonstrate Memril's capabilities without overwhelming complexity.
Step 3: Explore the Main Interface
After successful attachment, the main Memril interface appears:

Ready to Analyze!
You now have the basics to start memory analysis with Memril. The interface may seem complex at first, but each window serves a specific purpose in the analysis workflow. Take time to explore and experiment with different features.
Next Steps
Now that you have Memril up and running, learn about:
- Interface Layout - How Memril's windows are organized, along with their functionality
- Basic Workflow - Step-by-step analysis process